 |
 |
Satish Lele leleequip@gmail.com |
 I offer drawing services for Process Vessels. Charges for Single Drawing of Chemical Process Vessel : US$ 60 OR
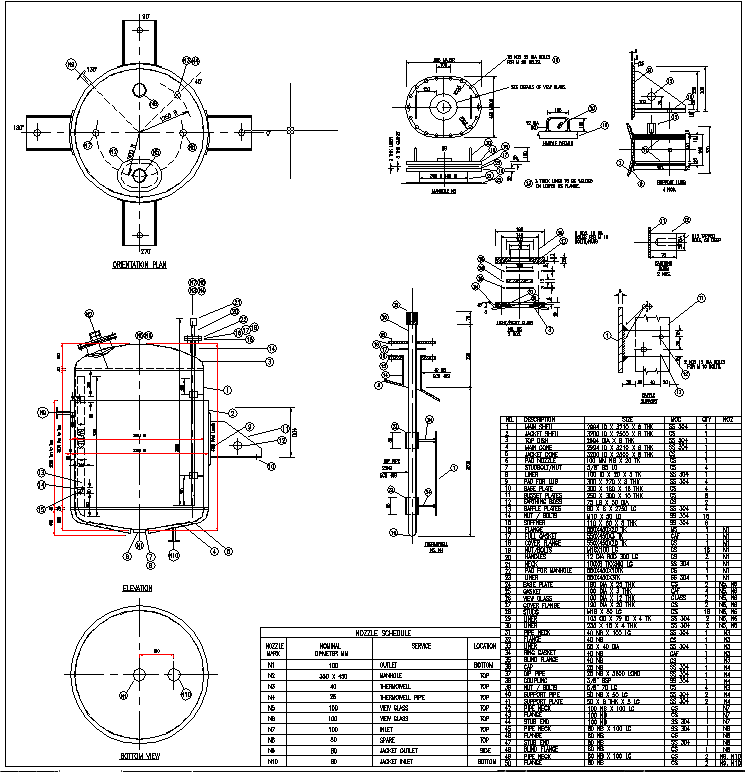
I offer a Drawing program which Draws a detailed drawing of Chemical Process Vessel, with user friendly dialog boxes, which is an add-on for any inexpensive CAD program like BricksCAD, ProgeCAD, IntelliCAD, Draftsight, CADLogic, or ZWCAD program. It is for Developing GA drawing for Chemical Process Vessel. The Program for Drawing of Chemical Process Vessel asks for some parameters and draws Chemical Process Vessel. Program for Drawing of Chemical Process Vessel draws the GA drawing and components. Program for Drawing of Agitator / Mixer gives all minor details (even weight of each component and total weight) at Quotation Stage itself and this helps to quote in most competitive manner.
To run the program, unzip vessel.zip and copy files in one folder on hard disk (and not on desk top), say vessel. While running inexpensive CAD program like BricksCAD, ProgeCAD, IntelliCAD, Draftsight, CADLogic, or ZWCAD program, click on tools ->Options (or Preferences) -> Files -> + of Support File Search Path -> Add -> Browse -> Select the folder (vessel), and click on apply. The vessel.zip file contains ves.lsp, ves.dcl and ves.slb, other lsp files, vesa1.dwg and vesa1_det.dwg (Border drawing) and trial.dwg (dummy drawing).
In a inexpensive CAD program like BricksCAD, ProgeCAD, IntelliCAD, Draftsight, CADLogic, or ZWCAD Program, first open trial.dwg. It is a blank drawing. It is in the same folder where program files are located. It automatically defines the path (folder) to search the program files. At command prompt type (load "ves.lsp"). Chemical Process Vessel program will be loaded. Next type ves and press <enter>.
The total drawing program can be divided in two parts. In first part draw GA of the vessel. Then draw add-on items like Lugs or Legs on vessel drawing. You can then draw details of parts in second drawing. You should then write the nozzle table. When you do these, the bill of material is automatically calculated and written in a text file, which is the used to write BOM table in drawing. These should be done together to get complete Bill Of Materials. In most drawings, location of nozzles is not indiated intially and it can be added any time later. If no dialiog box is shown, type ves and press <enter> to get first dialog box and continue.
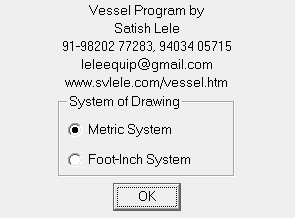
You can draw either in Foot-Inch units or in Metric Units. In Metric system it asks for all values in millimeters and in Foot-inch systems it asks for all values in Foot-inch.
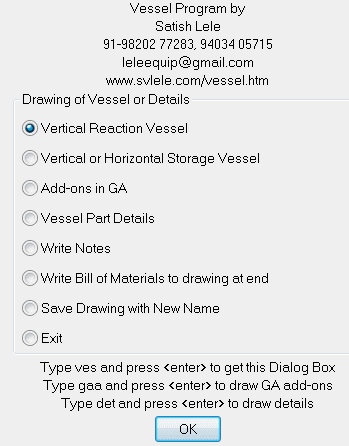
With the program you can draw either vertical vessels or horizantal vessels (mostly storage tanks). Select vessel type and continue. Other options are explained later.
With this program you can draw following Vertical Reaction Vessels.
Only vessel without any Jacket or Limpet. These can also be vertical storage tanks or recievers.
Vessel the external jacket.
Vessel with Limpet coil.
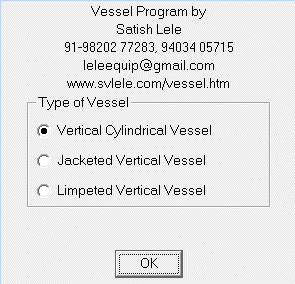
If you select any one of these options, next five dialog booxes will appear to get type of end conections, vessel sizes and material of construction.
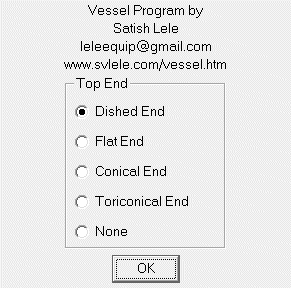
Select Top End. It can be Dished End, Flat End, Conical End, Toriconical End or Open (none).
Select Bottom End. It can be Dished End, Flat End, Conical End, Toriconical End or Open (none).

Select Bottom End. It can be Dished End, Flat End, Conical End, Toriconical End or Open (none).
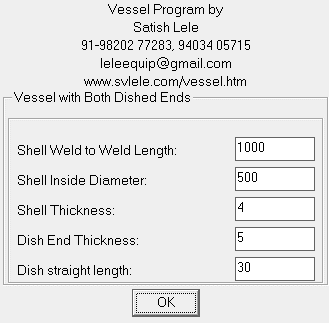
Specify Weld to Weld (Tan to Tan) Shell Length, Shell Inside Diameter, Shell Thickness. Specify thickness of Dish or Flat or Cone or ToriCone. Specify straight length for Dish or Toricone.
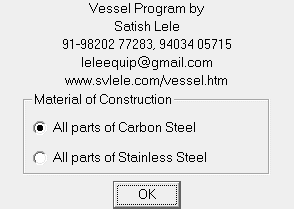
Select Material of construction for vessel. It can be Carbon Steel or Stainless Steel.
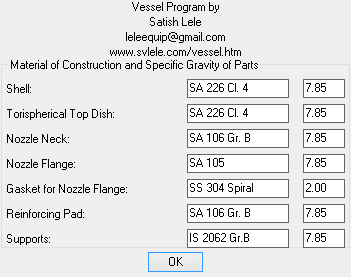
Select appropriate material standard and specific gravity.
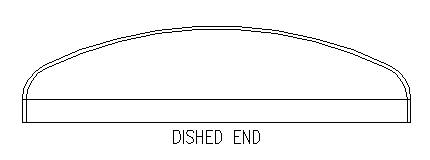

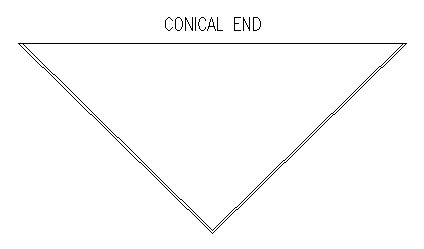
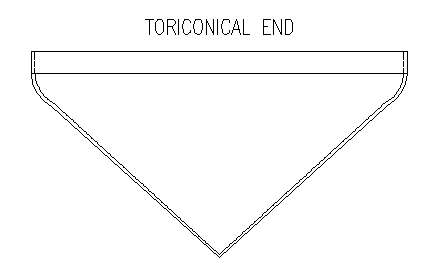
End Connections for Vertical Reaction Vessels
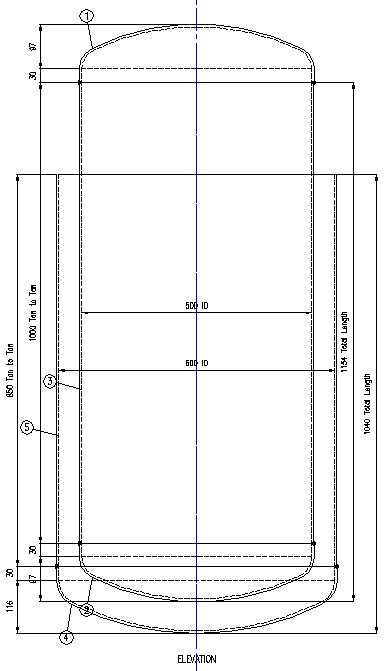
If you select Jacketed Vertical Vessels, five dialog booxes will appear to get type of end conections, vessel sizes and material of construction. (Same as in case of Vertical Reaction Vessels).
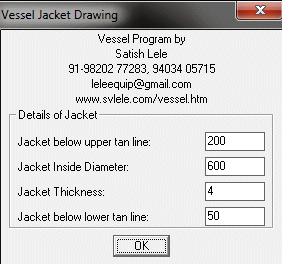
Carefully enter distances of Jacket top and bottom line, from respective tan lines. Jacket inside diameter decides the gap between Shell and Jacket. Dialog boxes to select the MOC for Jacket will be shown. (MOC of Jacket can be different than that of Shell in case of SS vessels). Two dialog boxes to fill title block will be shown. When these are filled, two drawings will be set up with GA of vessel in first one.
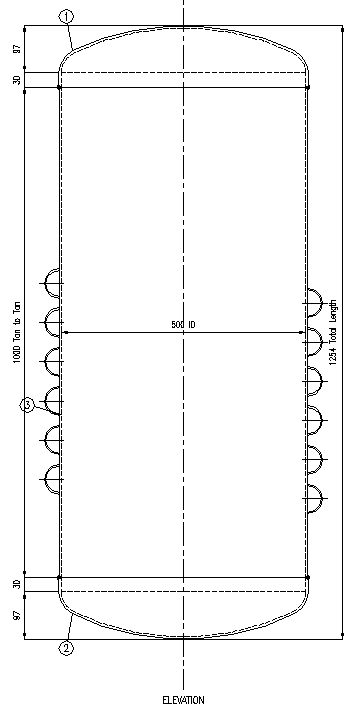
If you select Limpeted Vertical Vessels, five dialog boxes will appear to get type of end conections, vessel sizes and material of construction. (Same as in case of Vertical Reaction Vessels).
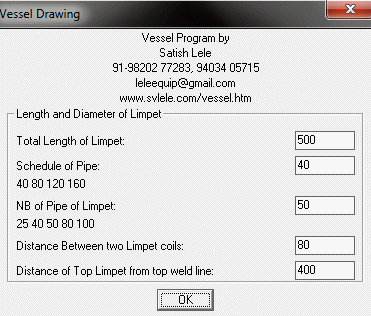
Carefully enter distances of Limpet top and bottom line, from respective tan lines. Two dialog boxes to fill title block will be shown. When these are filled, two drawings will be set up with GA of vessel in first one.
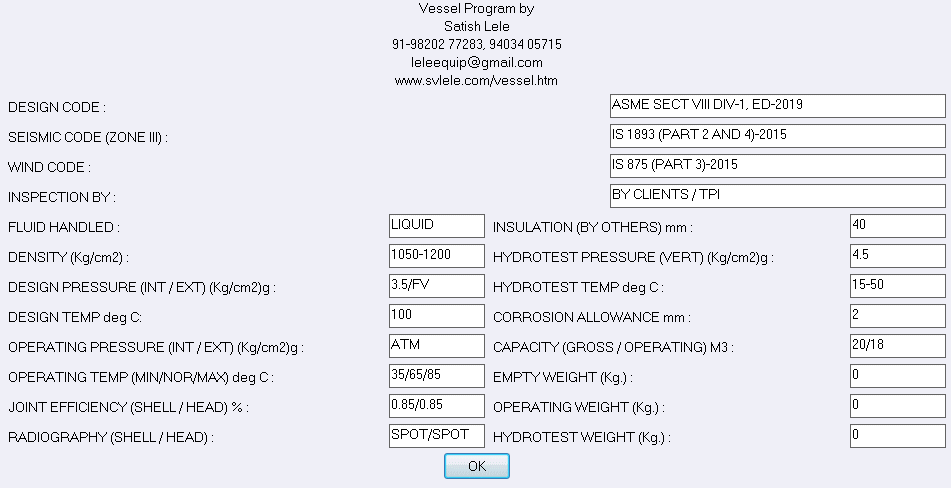
Select entries in Design Table of Drawing.
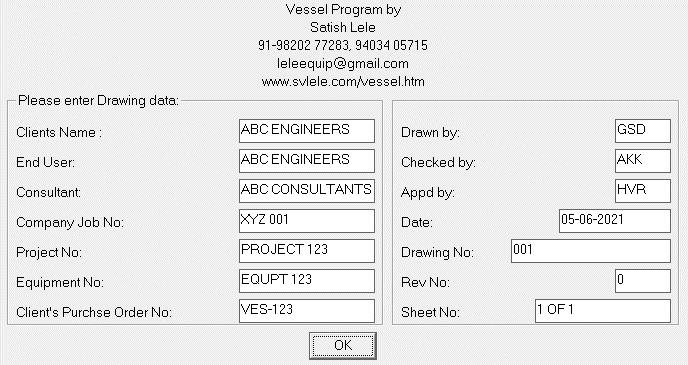
Select entries in Title Block of Drawing.
Two template drawings will be drawn. The GA will be drawn in first drawing. Second is for details.
Once basic drawing is done you can add some Accessories. Run vessel program again by typing ves and press <enter>. Select Add on GA option.
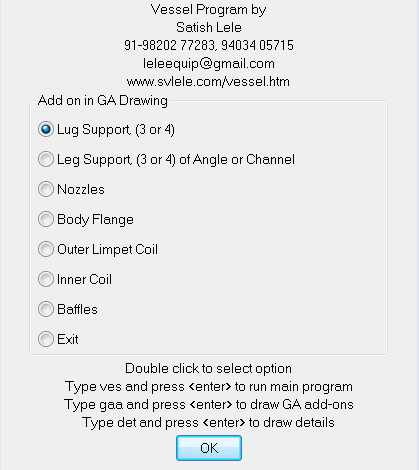
You can add these in GA Drawing one by one. Once you finished drawing one option, select exit. This dialog box will be shown again.
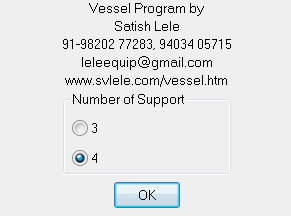
If you select Lug option, You will asked to select number of Lugs, 3 or 4.
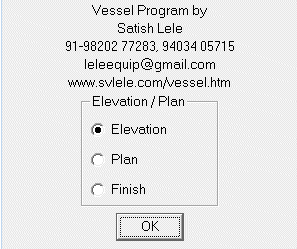
You can Draw Elevation or Plan. Once options of Elevation are completed, this dialog box will be shown again. You can select plan option. Once options of plan are completed, this dialog box will bw shown again. Select finish to retun to add-on dialog box.
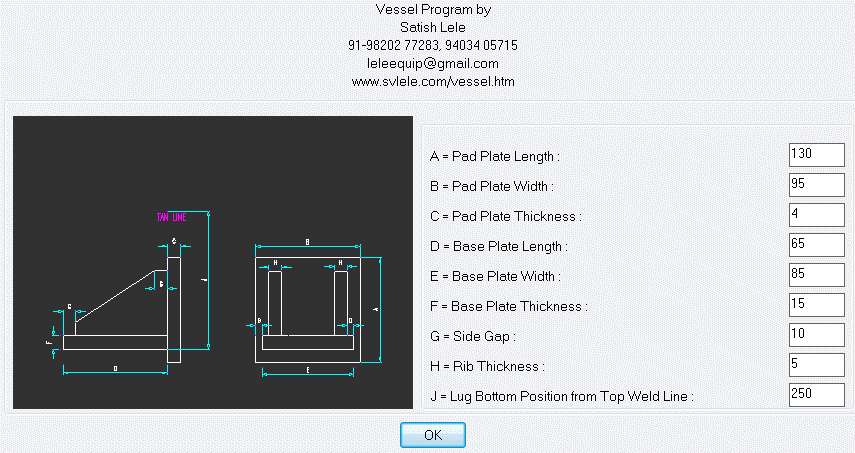
Based on the weight to Vessel and its contents (as water) it will suggest sizes of different components. You can change the values, if you wish. Choose value J properly, which is distance of bottom of Lug from Top Weld Line. It will then asks you to pick up center point of top weld line GA. (Osnap mid is automatically set). Once you pick the point, lugs will be drawn, and its bill material is written to text file. old dialog box will appear, and you can select plan or finish option.
If you do the insertion of components, after some time, Program will reconfirm the size and material of construction.
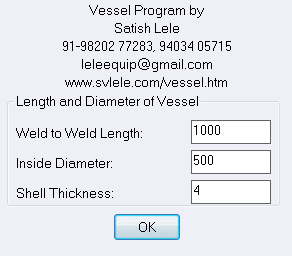
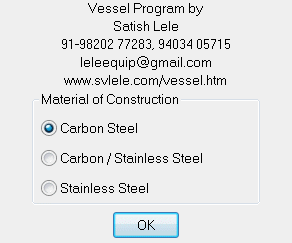
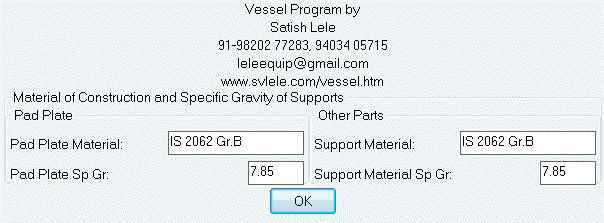
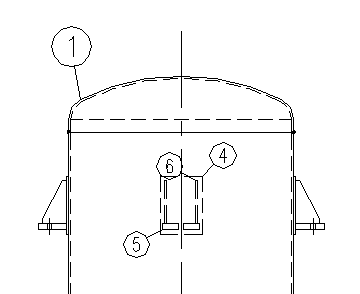
If you select plan option, it will again confirm size of vessel, material and its Specific Gravity, lug size and will ask you to select center point of vessel in plan drawing. Click on Finish to end drawing of Lugs.
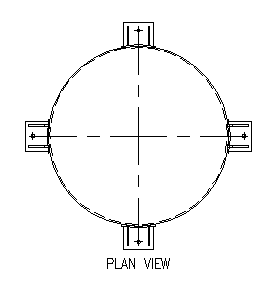
If you select 3 lugs, it will draw lugs like this.
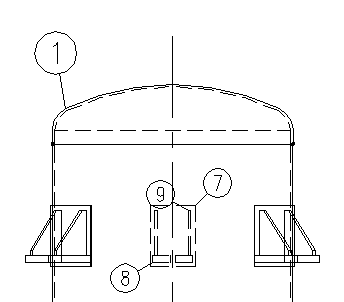
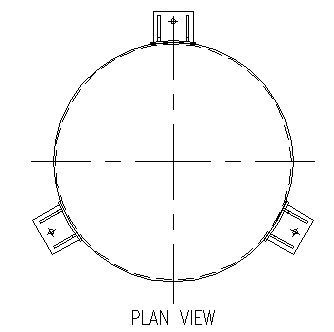
If you select Leg option, You will asked to select number of Legs, 3 or 4

You will be asked to select Legs of Angles or Channels
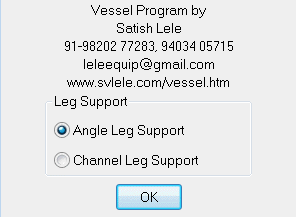

You can Draw Elevation or Plan.
If you select elevation or plan, it will confirm the size of the vessel.

It will confirm Material of contstruction for Lug. It can be CS for SS Vessel.

You can change material and its Specific Gravity as per your requirements.

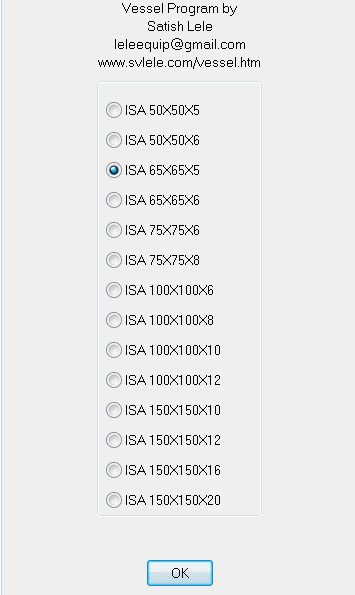
As per the weight of vessel and its content (assumed as water), it will recommend size of Angle.
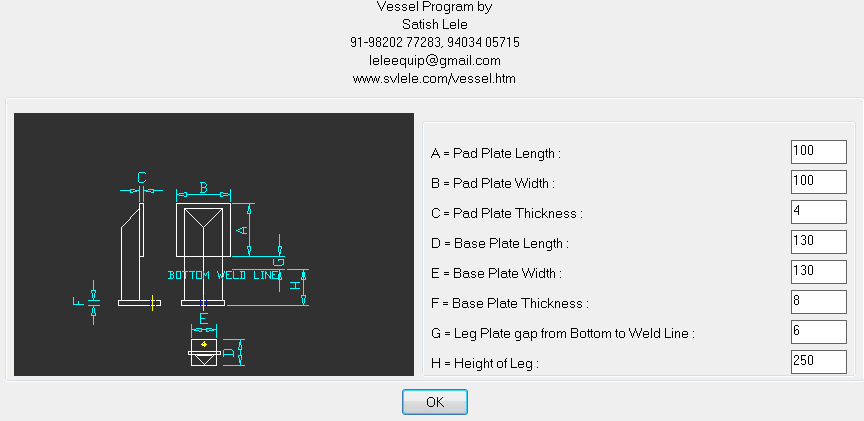
It will show Leg Dimensions. However, you can change any value. Choose value H properly, which is distance of bottom of Leg from bottom Weld Line.
If you have selected to draw Elevation, it will ask you to select bottom weld line in GA drawing. It will draw legs accordingly. if you have selected 4 legs, it will draw 4 legs. It will also draw tags, with sequential number, which will be reflected in Bill of Material.
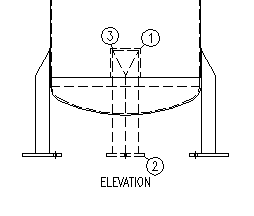
If you select plan option, it will again confirm size of vessel, material and its Specific Gravity, lug size and will ask you to select center point of vessel in plan drawing. Click on Finish to end drawing of Lugs.
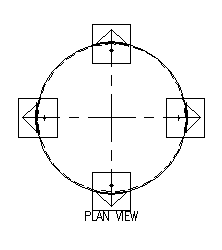
If you select 3 legs of Angles, it will draw legs like this.
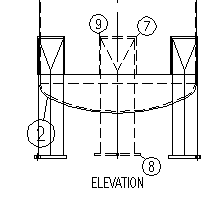
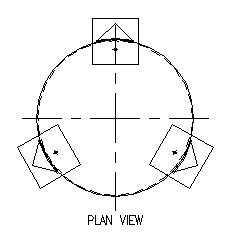
As per the weight of vessel and its content (assumed as water), it will recommend size of Channel.
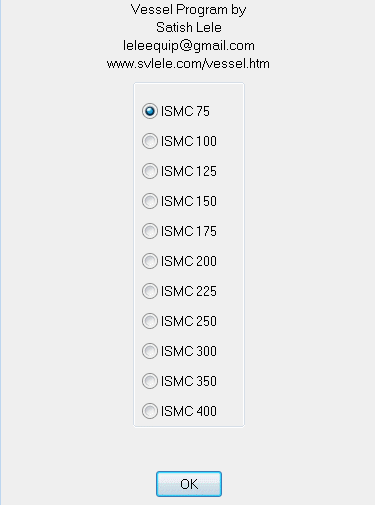
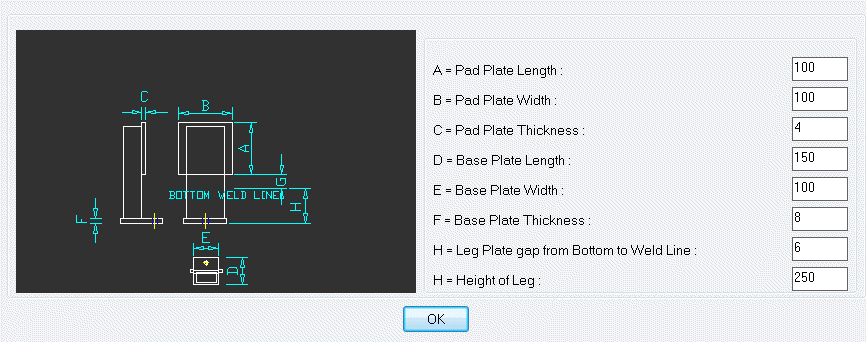
It will show Leg Dimensions. However, you can change any value. Choose value H properly, which is distance of bottom of Leg from bottom Weld Line.
If you select 3 legs of Channels, it will draw legs like this.
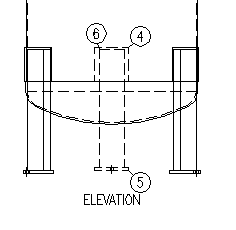
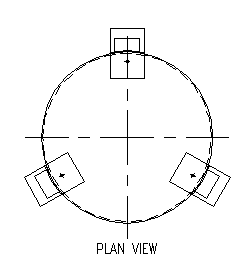
If you select 4 legs of Channels, it will draw legs like this.
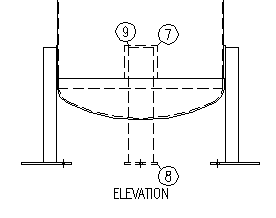
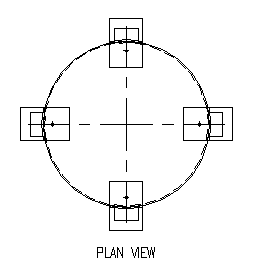
With Draw Nozzles option you can draw these

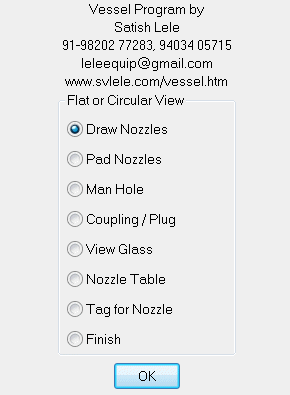
If You select Draw Nozzles option, you can draw Flat View or Circular View.

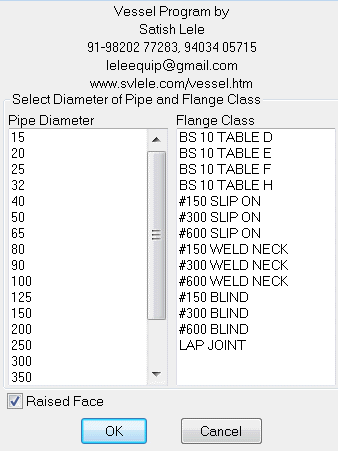
Select Pipe NB and Flange Class. You can have raised face or flat face.
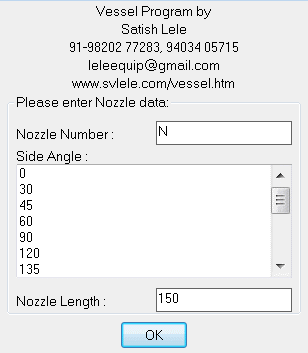
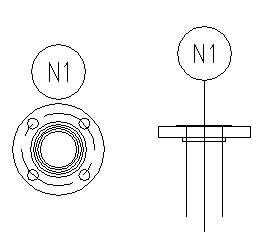
Please indicate Nozzle Number, Length of nozzle and angle. For horizontal nozzle angle is 0, 90 for vertical etc. Select insertion point on shell, or dish for flat and circular nozzles. Nozzles and flanges will be drawn to scale as per size, class and type (Raised or Flat face). When done, click on Finish to exit.
With draw Man Hole Option, you can draw either Oval or Circular Manhole.

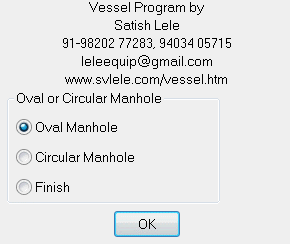
Oval Manhole
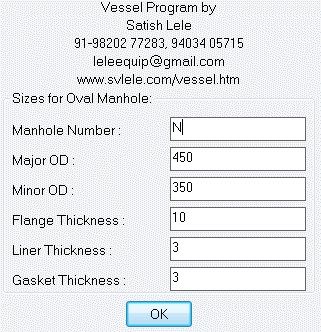
Select Manhole Number and all Dimensions. Also select

Then select center point of man hole in elevation and plan.
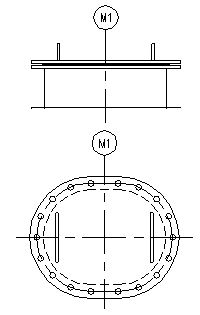
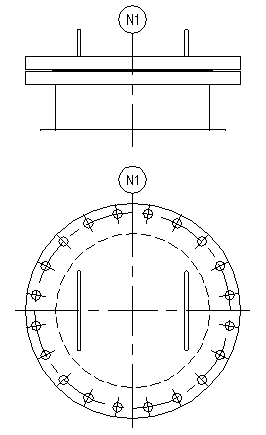
Circular Manhole
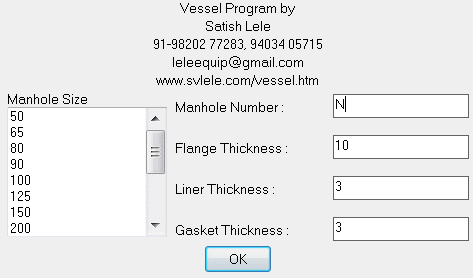
Select Manhole Number and all Dimensions. Also select

Then select center point of man hole in elevation and plan.
With draw Coupling and Plug option, select rating of coupling

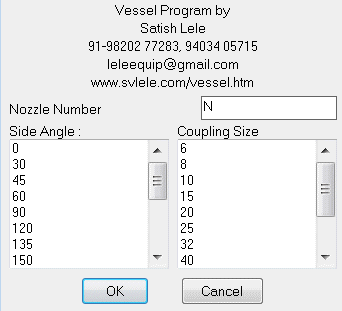
Select Coupling Number, angle and Coupling size. Also select

Then select center point of Coupling in elevation and plan.
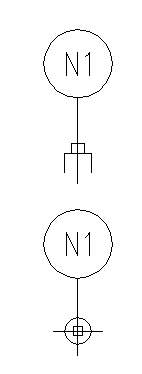
With draw View Glass option

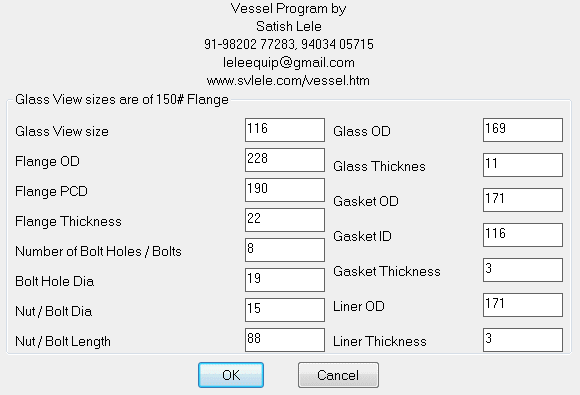
Select View Glass Number, angle and View Glass size. Also select

Then select center point of View Glass in elevation and plan.
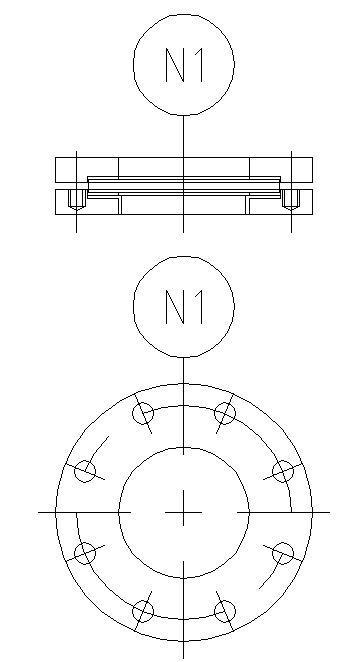
With draw Pad Flange option

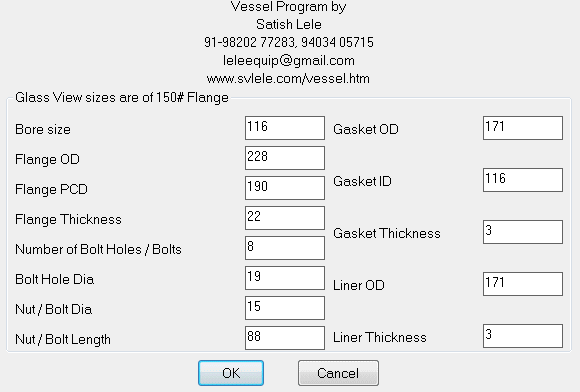
Select Pad Flange Number, angle and Pad Flange size. Also select flange dimensions

Then select center point of Pad Flange in elevation and plan.
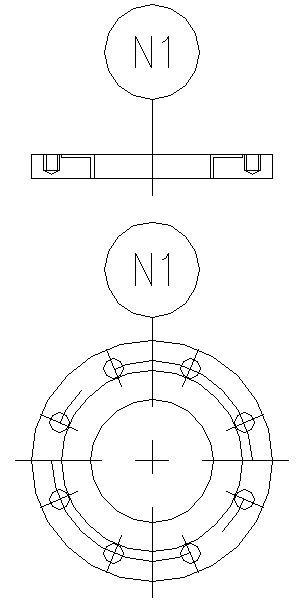
With Draw Body Flange option you can draw
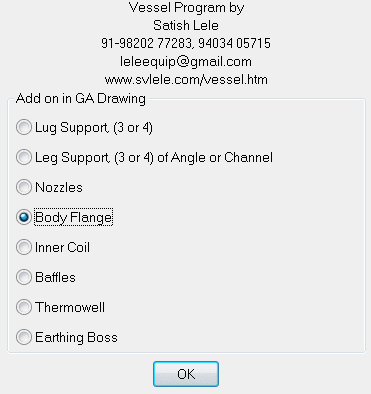
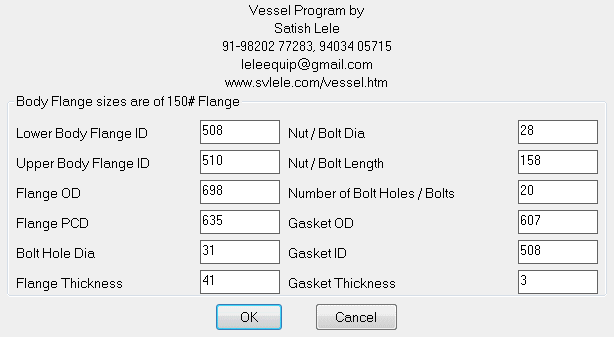
With respect to the diameter of vessel, it will show dimensions and details of Body Flange. You can change Flange Thickness, Nut/Bolt diameter and length, gasket thickness and Bolt hole diameter. All other dimensions are as per flange standards.
Select the view

Select mid point of top weld line in elevation and center point of vessel in plan
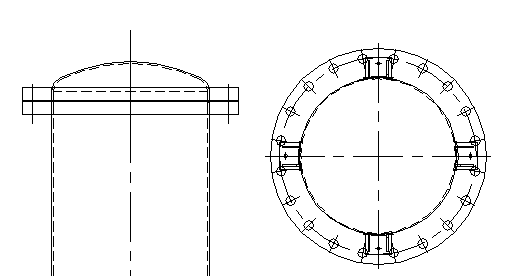
In GA Drawings dimensions are not shown. These are indicated in detail drawings.
You can draw the details of, Normal size (1:1), Double (2:1) or Triple (3:1) scale as well.
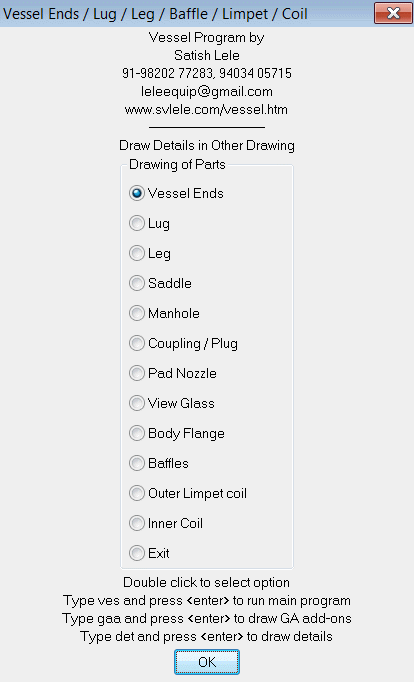
You can draw these in detail, where dimensions will be shown. These can be Dished End, Flat End, Conical End, Toriconical End.
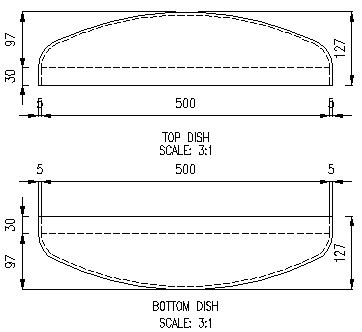
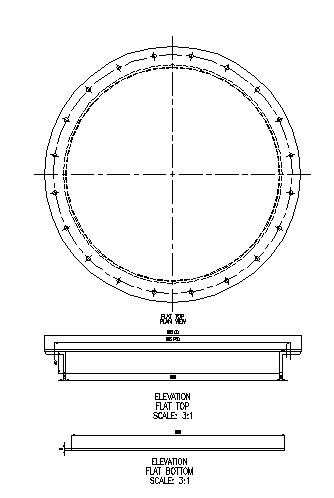
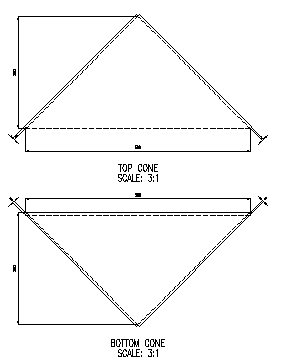
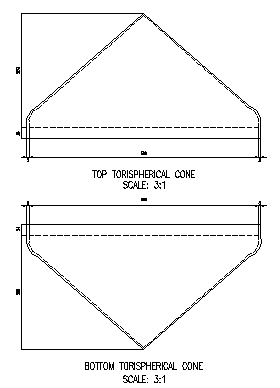
Detail Drawings of End Connections for Vertical Reaction Vessels
You can draw Lugs in detail, where dimensions will be shown
Select location for elevation and plan it will draw like this for 3 lugs.
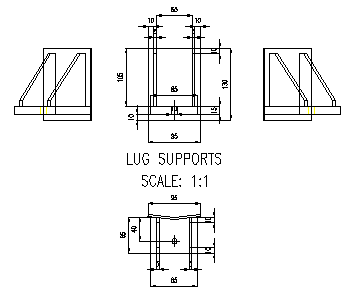
It will draw like this for 4 lugs.
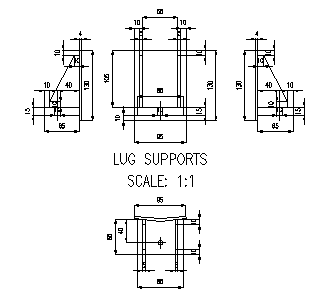
If you select Leg option, You will asked to select number of Legs, 3 or 4


You can Draw Elevation or Plan.
If you select elevation or plan, it will confirm the size of the vessel.

It will confirm Material of contstruction for Leg. It can be CS for SS Vessel.

You can change material and its Specific Gravity as per your requirements.

As per the weight of vessel and its content (assumed as water), it will show Leg Dimensions. However, you can change any value. Choose value J properly, which is distance of bottom of Leg from bottom Weld Line.

If you have selected to draw Elevation, it will ask you to select bottom weld line in GA drawing. It will draw legs accordingly. if you have selected 4 legs, it will draw 4 legs. You can select either Angle or Channel. It will also draw tags, with sequential number, which will be reflected in Bill of Material.
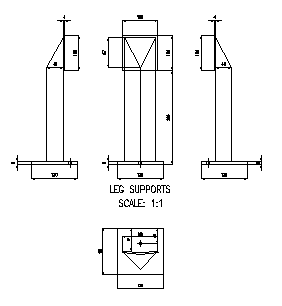
4 Legs with Angle as Structural Member.
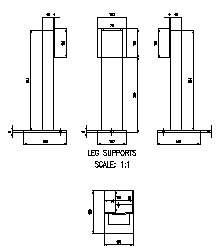
4 Legs with Channel as Structural Member.
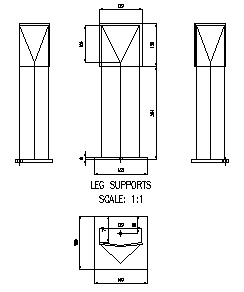
3 Legs with Angle as Structural Member.
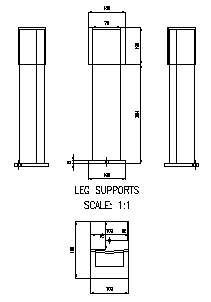
3 Legs with Channel as Structural Member.
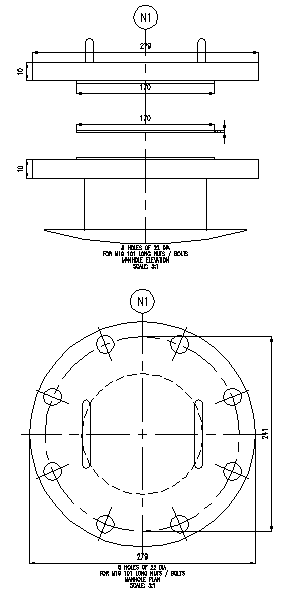
If you select Manhole option you can draw Oval or Circular Man Hole
Oval Manhole


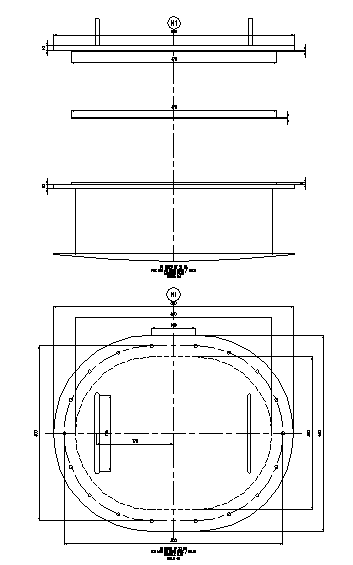
Circular Manhole


Nozzle Table
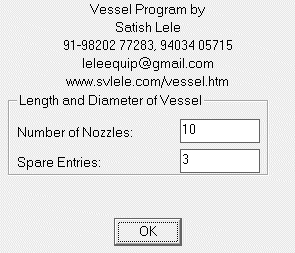
To draw Nozzle Table indicate total nozzle entries. You can have some spare spaces in Nozzle Table.
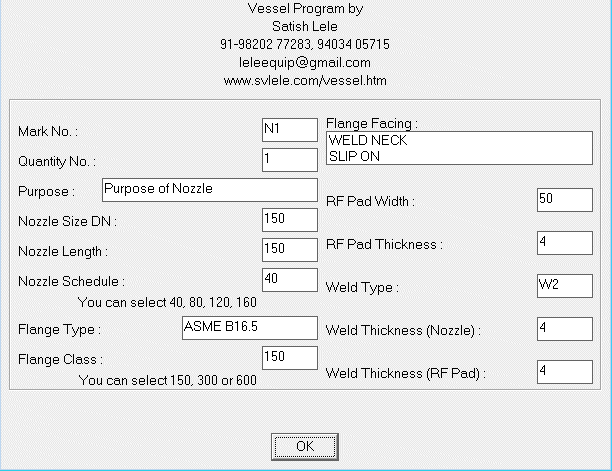
Select Proper data to be written in Nozzle Table for each nozzle
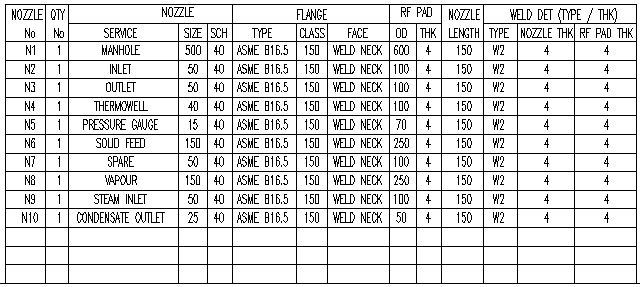
Nozzle Table will be written like this.
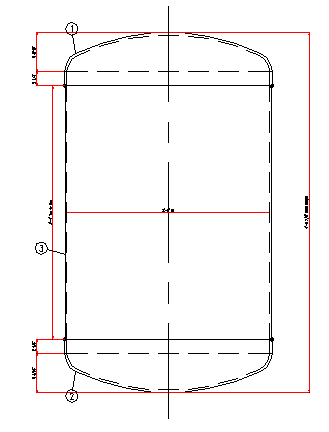
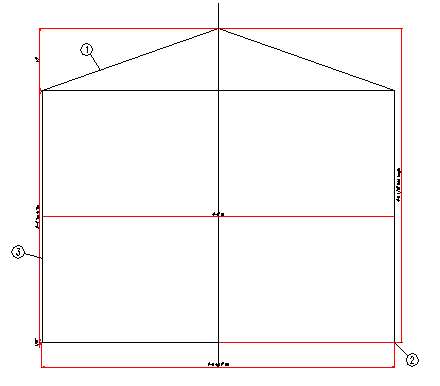
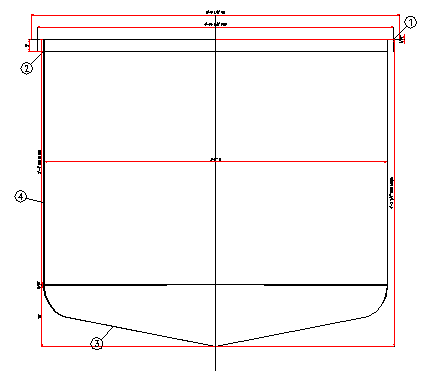
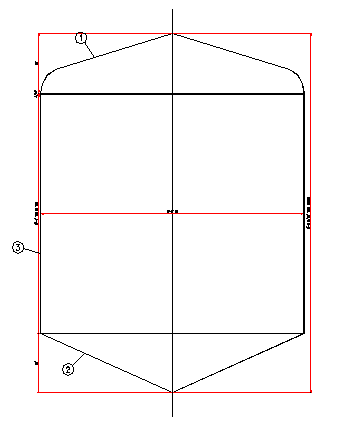
Program will draw Vertical Vessel like this.


Dialog Boxes for Horizontal Storage Tank


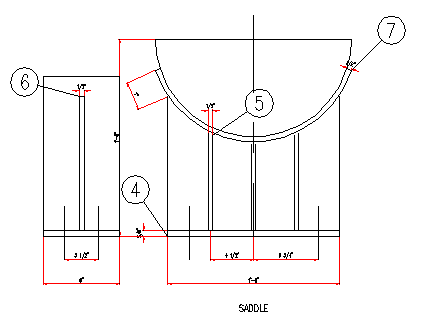
End Connections for Horizontal Storage Tank
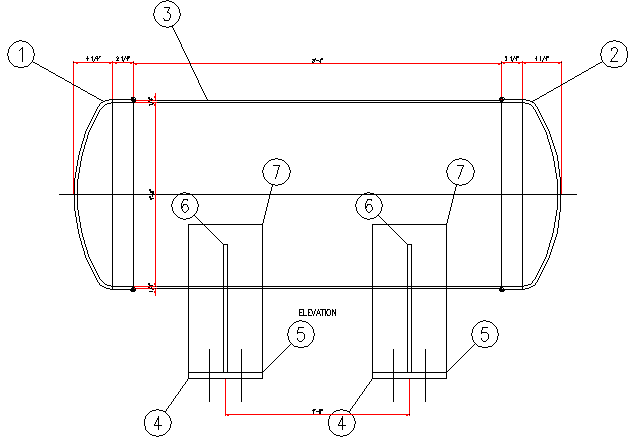
Program will draw Horizontal Vessel like this.
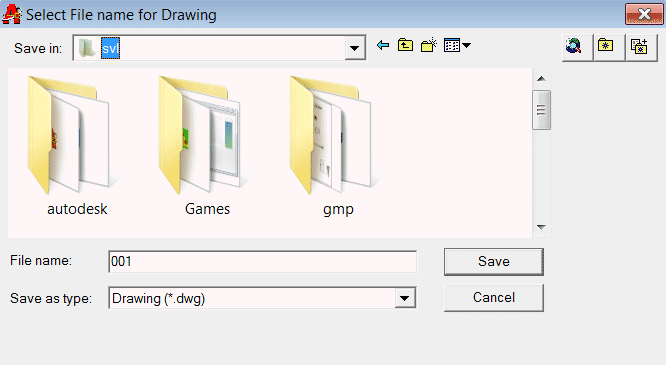
Select drawing name to be saved and its proper folder.
